
I’ve repaired a lot of vintage Macs. Sometimes it’s relatively straightforward, sometimes it’s the stuff of nightmares, and every now and then the machine in question is kind enough to tell you exactly what’s wrong with it.
I was recently contacted via Facebook to see if I would help out with a Macintosh LC that wouldn’t boot. The fan and hard drive would spin up, so we knew power was getting to the board, but nothing but a faint “pop” from the speaker on power up. As it turns out I already knew this person as I had purchased the “revolutionary” UnMouse from him a couple of years ago. He lives one suburb away from me, so no need for any postage charges.
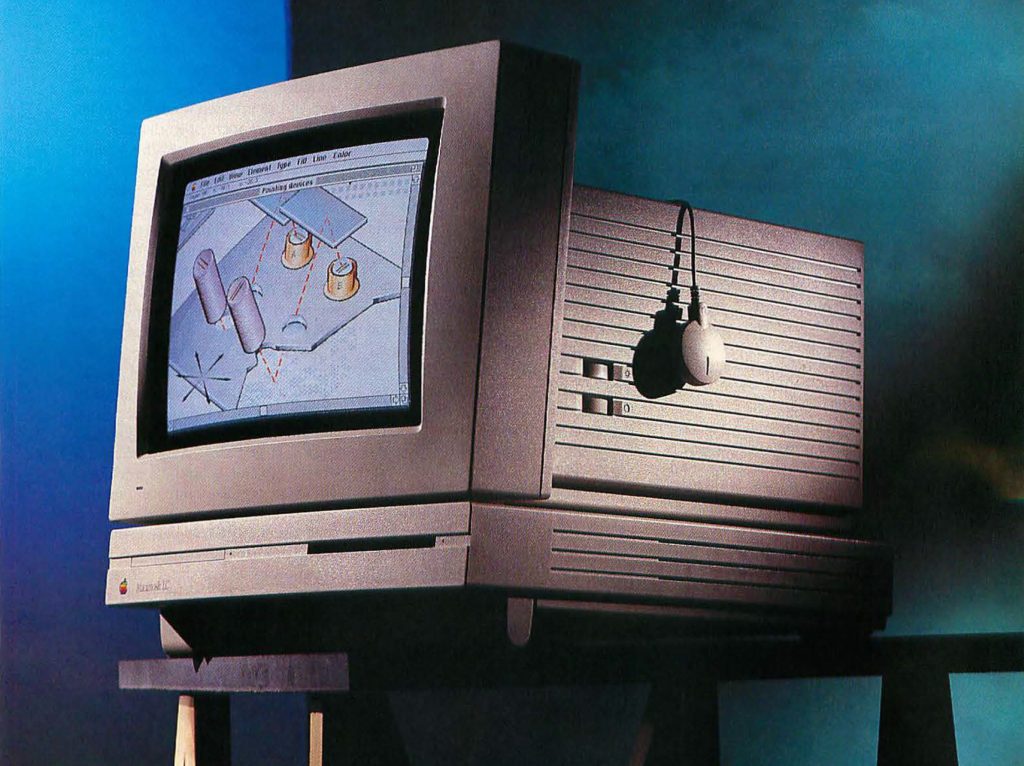
The Macintosh LC (Low Cost) was sold by Apple in October 1990 in an attempt to get colour Macs into more homes. It was released at the same time as the Macintosh IIsi, but at only $2,400 USD compared to $3,800 for the IIsi, the LC finally made a colour Mac available to the home market.
The specifications of the LC are—shall we say—modest? A 16MHz Motorola 68020 CPU, 2MB of on-board RAM, upgradeable to 10MB via two 30 pin RAM slots, no on-board VRAM, but a single VRAM slot that could be populated with a 256KB or 512 KB VRAM SIMM, 16-bit data bus, no FPU, a 1.4MB floppy drive and a second drive bay that could be populated either with a second floppy drive for the base configuration, or a 40 or 80MB hard drive. With everything bundled into a flat little “pizza box” case design.
In my opinion, the design really is the LC’s best feature, with the curve at the front of the case matching the curve on the front of the CRT displays Apple sold at the same time.
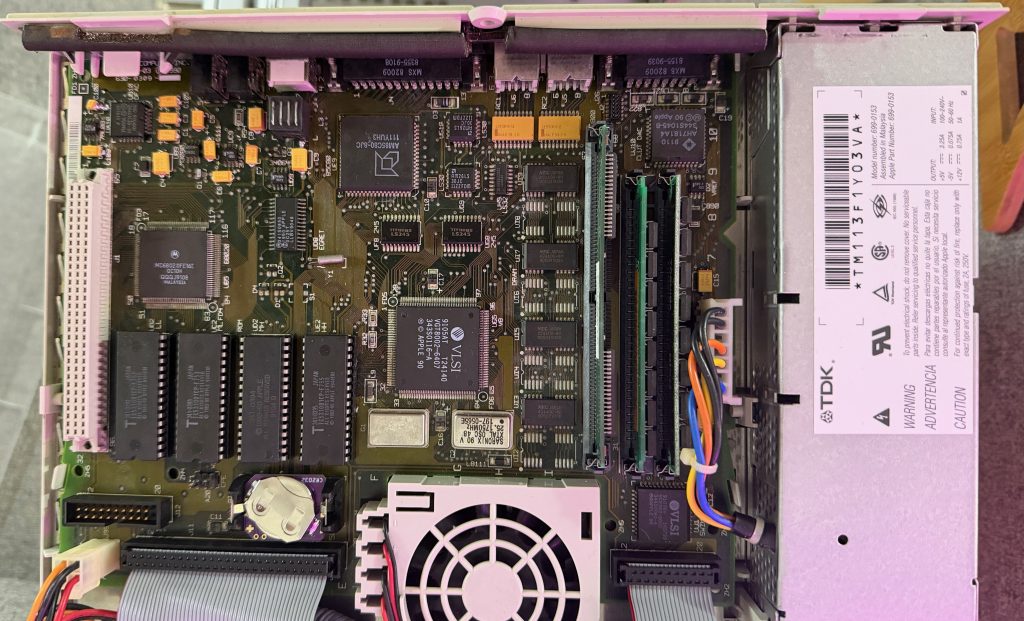
Back to this particular LC. As with most other computers of this era, they have surface mount electrolytic capacitors that are well past their use-by date, often leaking corrosive electrolyte on to the board to create secondary issues, other than just the failing caps. Anyone who knows me will know that I have provided a number of videos and resources to help people with this recapping process and I strongly encourage people to give it a try for themselves. And in this instance, that’s exactly what the owner of the LC had done. He had used my resources, removed the old, leaky electrolytic caps and replaced them with some shiny new tantalum capacitors.
After recapping and cleaning, it’s quite common for these old computers to just spring back to life, but unfortunately this one hadn’t, and that’s when I was asked to help. He had admitted to accidentally tearing some pads away from the board during recapping, but he was confident he had been able to re-establish continuity with some wire. I am never one to shame people for having a go at this, regardless of the outcome. How do we ever get better at these skills if we don’t practice? I guess my only real criticism is I always encourage people to practice on old, unwanted circuit boards, rather than giving it your first try on your beloved vintage hardware.
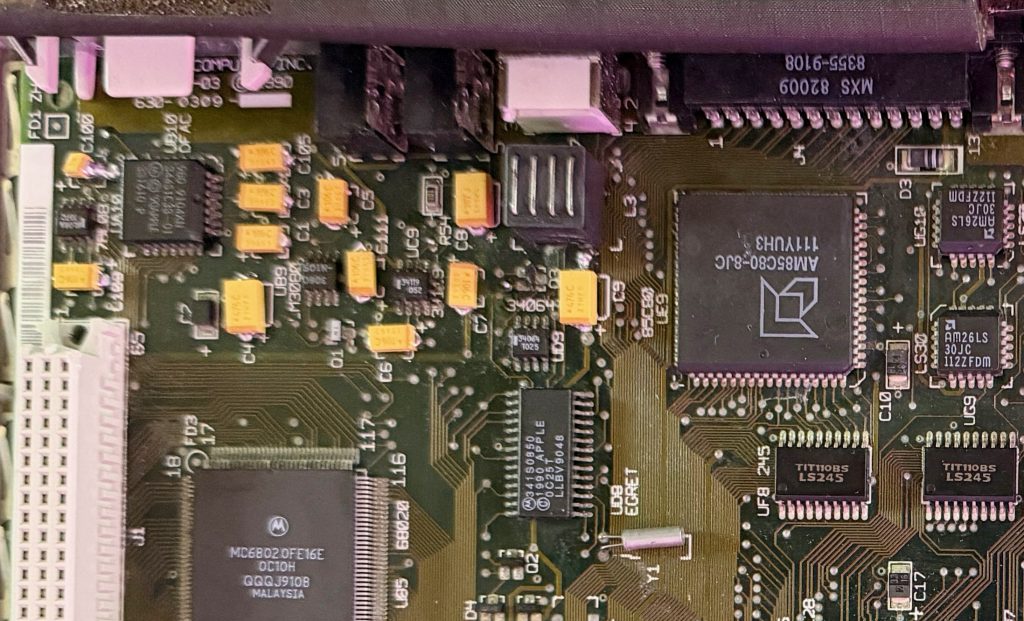
Once I’d had a chance to look at the LC board under the microscope, a few things stood out. The first was an excess of solder on the new capacitors. These are surface mount components, and you really don’t need much solder. The second was a lack of flux used. Solder oxidises quite quickly, and a lack of flux will result in the solder forming into blobs, rather than flowing into the nooks and crannies and creating a decent bond to the pads.
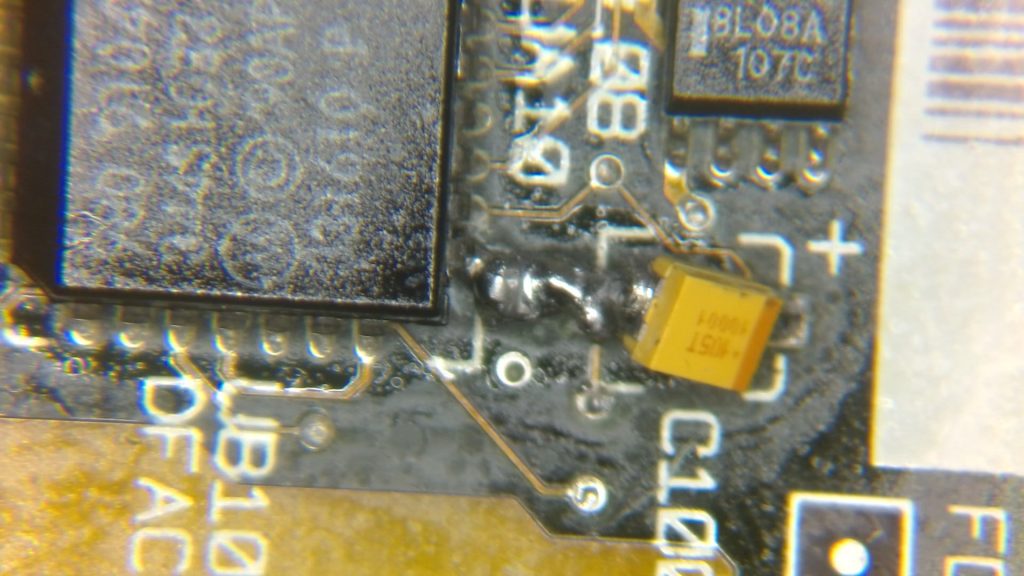
I could see where the pads had been torn and a repair attempted, and while the repairs may have been functional, I had real concerns about potential shorts because of the excess solder. I decided the best way forward was to clean up the recapping to eliminate it as a potential cause of the problems. One could argue, “why redo the recapping if you don’t even know if that was the cause the of the problem?” Well I think of it like this. Imagine you’re diagnosing an engine that won’t start, when you realise half of the spark-plug leads are damaged and hanging on by a thread. They may not be the reason the engine won’t start, but you’d be mad not to sort them out before going any further.
So I removed most of the new caps, cleaned up the excess solder and replaced them with my own capacitors, and for the other caps I just tidied up the joints. I also gave the board a good wash in the ultrasonic cleaner. At this point the board looked pretty tidy, and I was hopeful it would come back to life, but after connecting up a power supply… nothing.
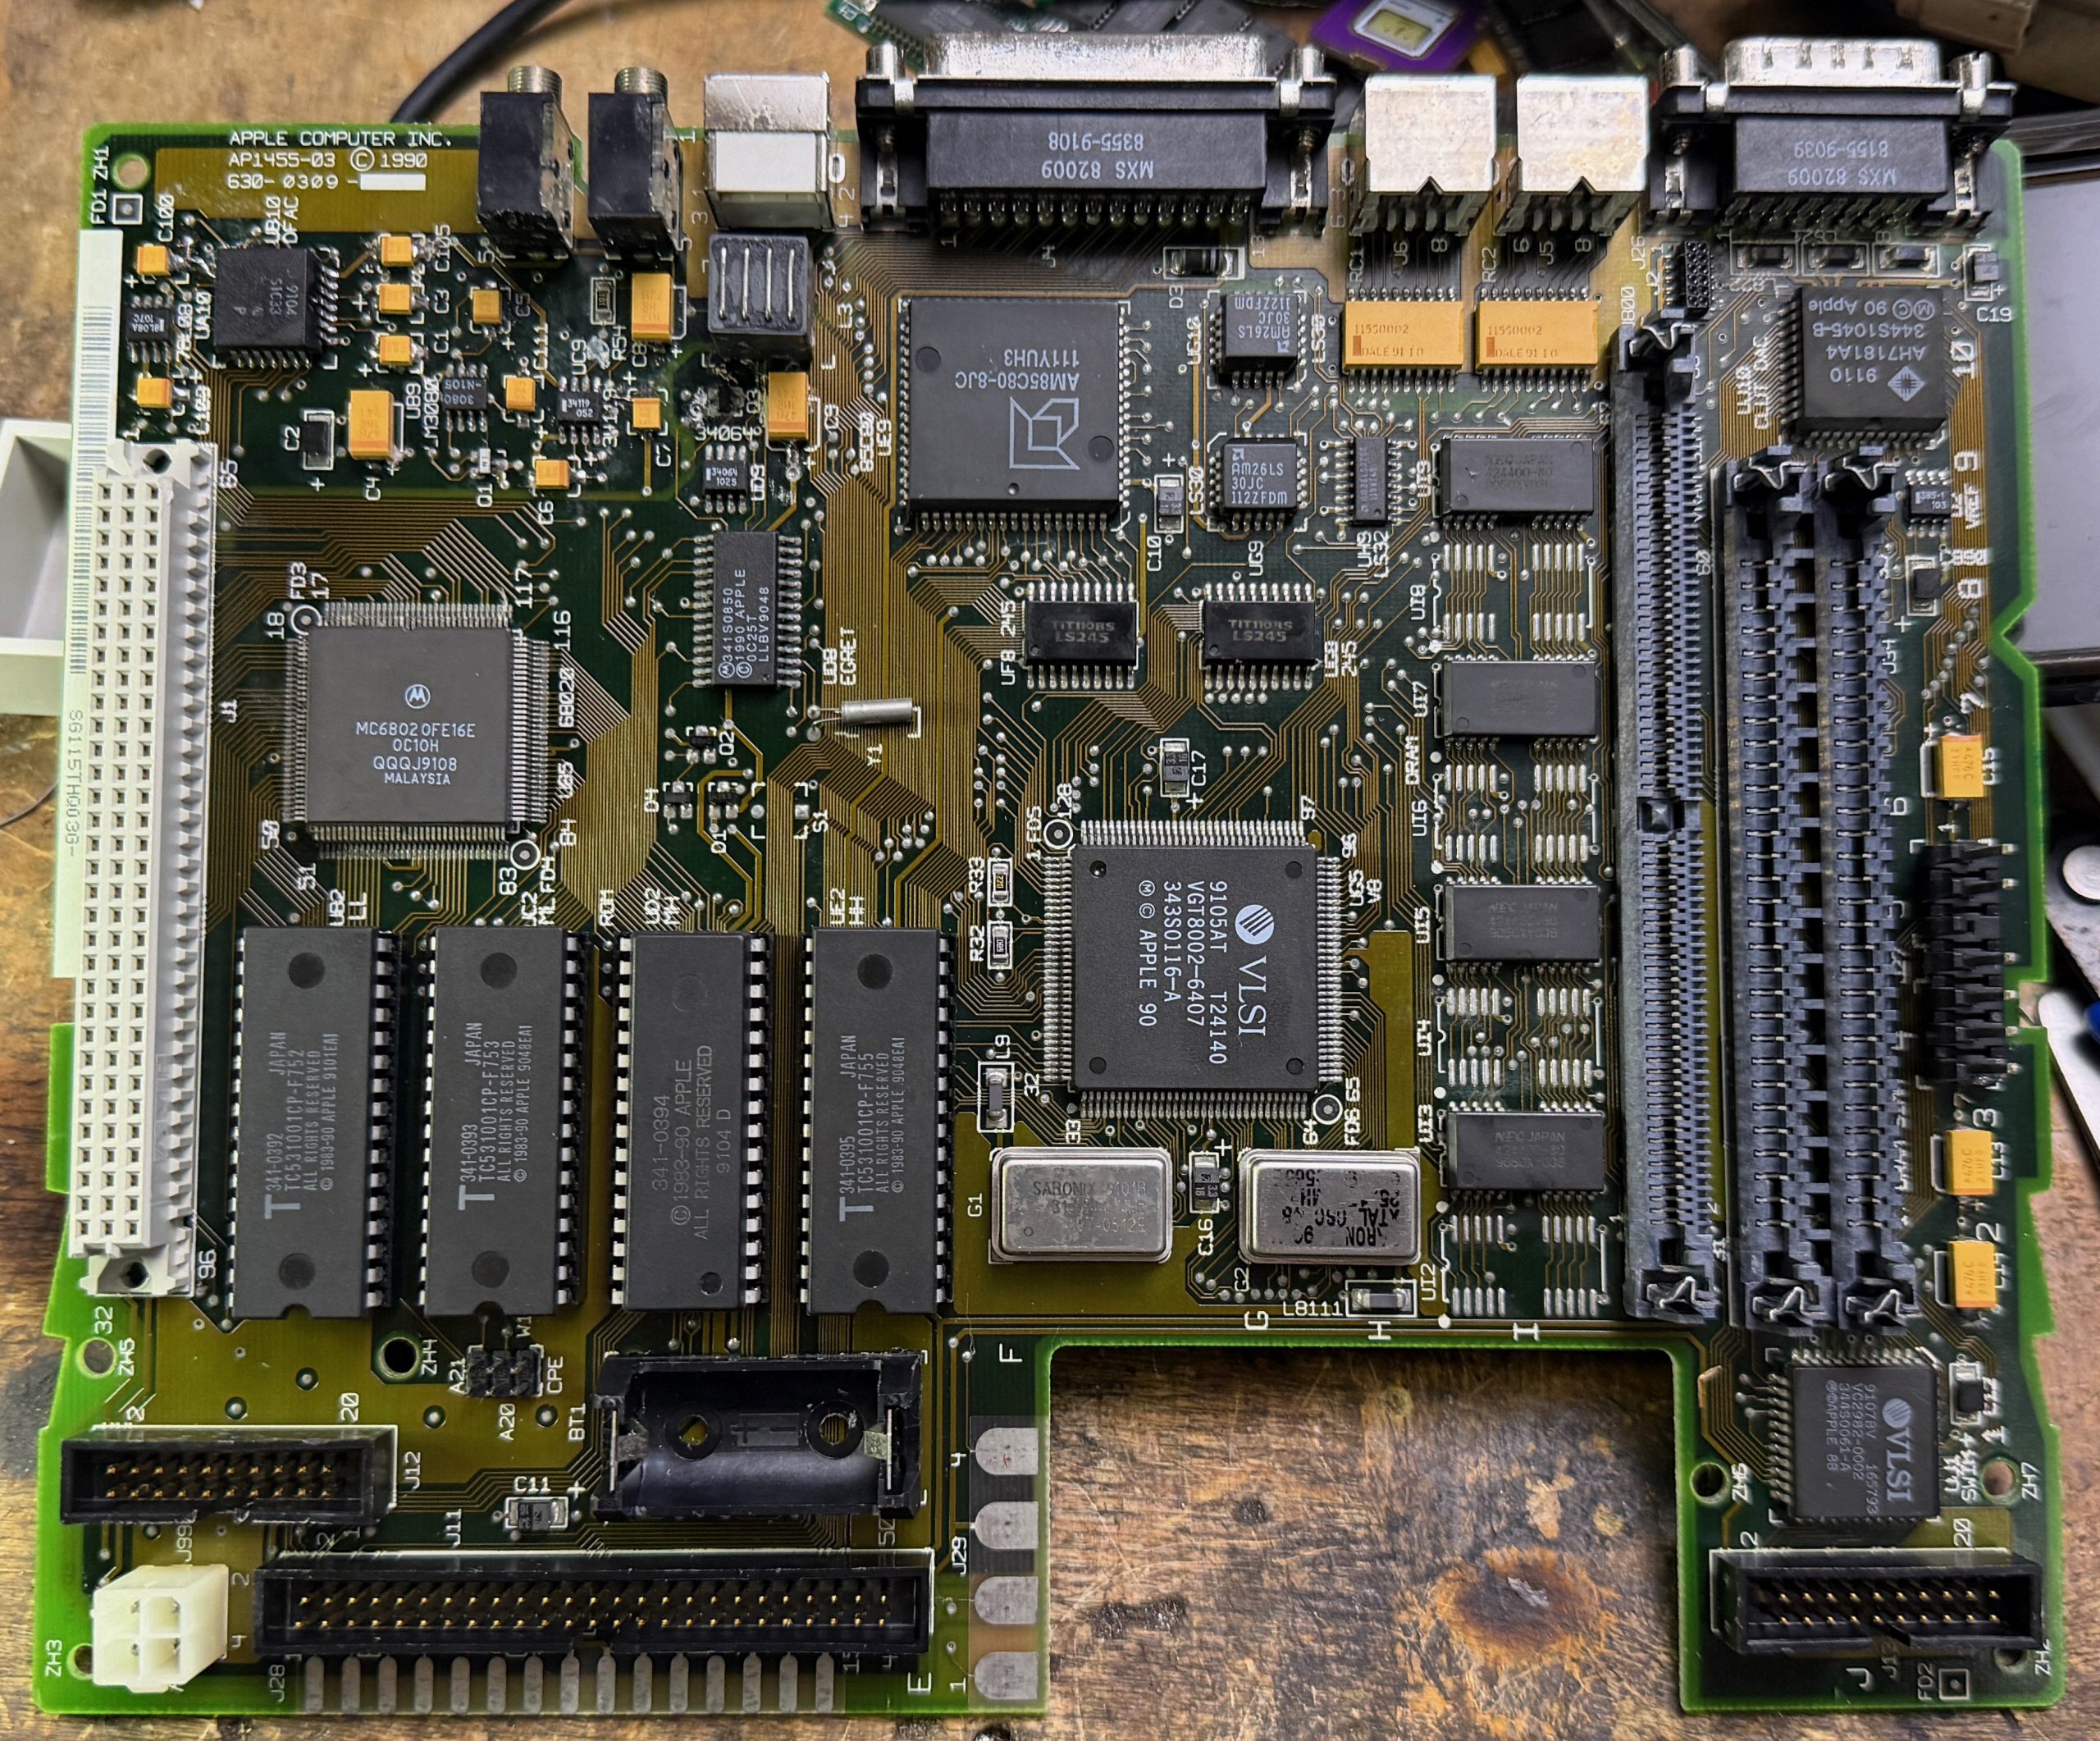
This is the point where I start cursing. Why did I take this on? I have a desire to save as many of these old Macs as possible, but when a recap doesn’t fix it, the next step involves deeper diagnostics which can gobble up an obscene amount of time. Minutes turn into hours, hours turn into days, and all of a sudden you realise your time has no value because no one is going to accept a repair bill that will adequately compensate you.
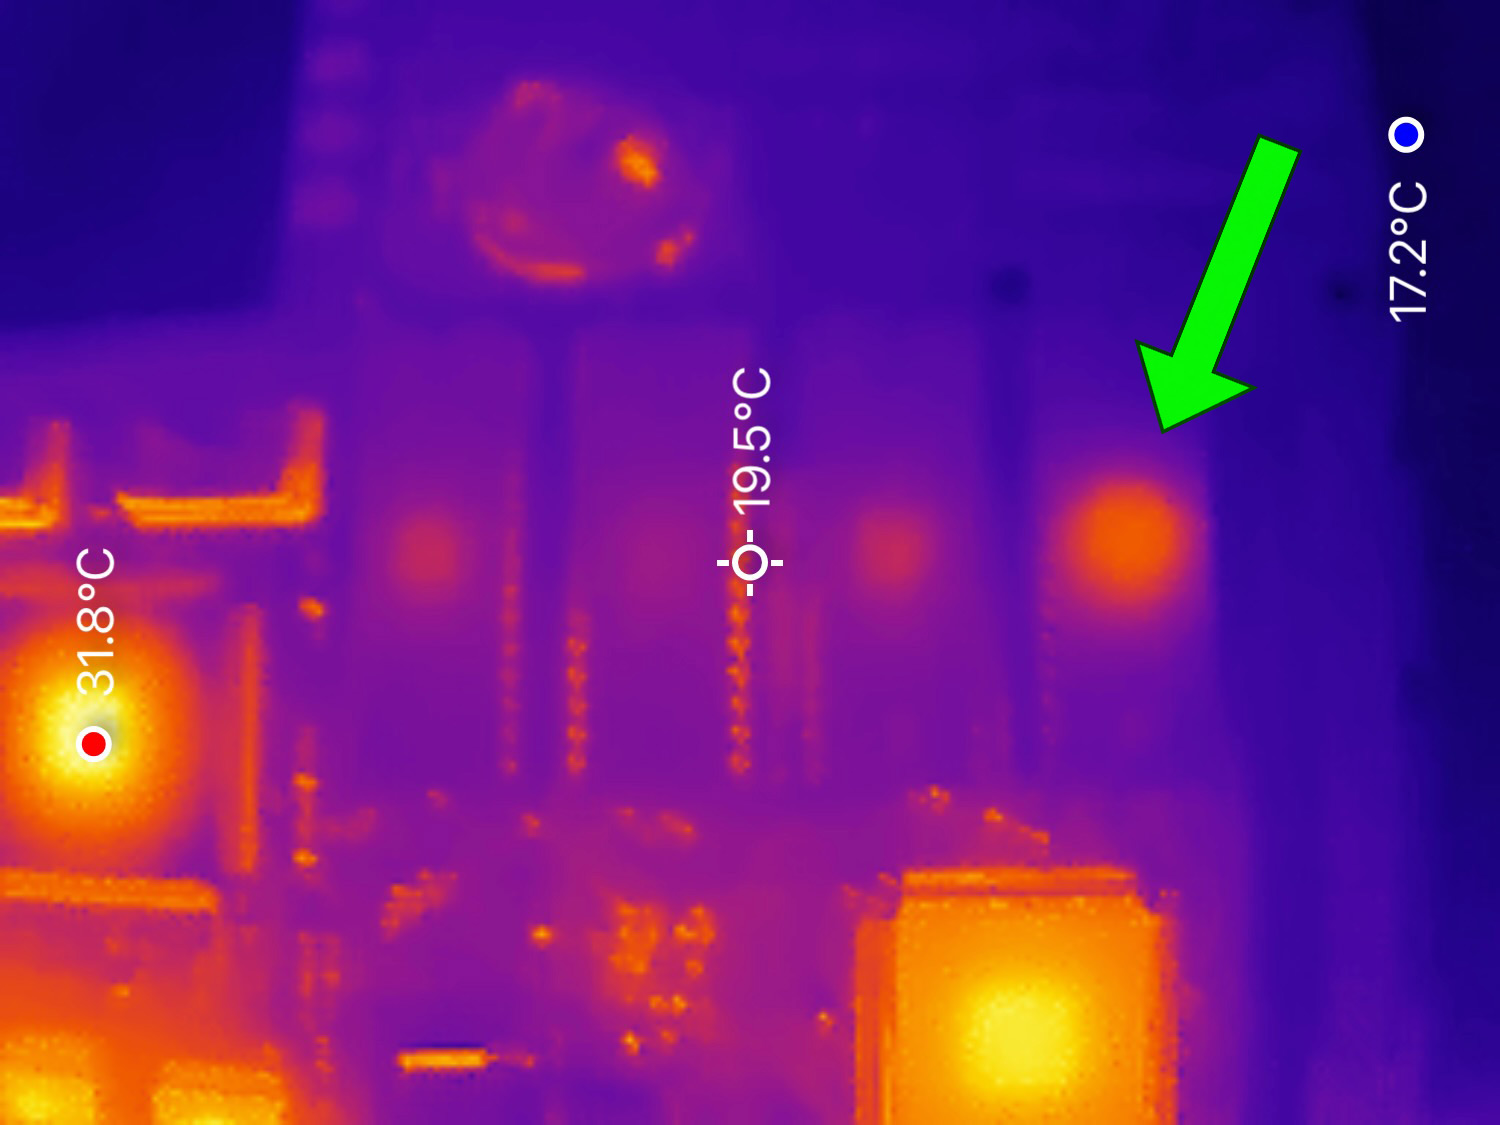
At this point I decided to grab my trusty thermal camera. Finding out if components are warming up, not warming up, or getting ridiculously hot can often give some insight into the state of the computer. It’s by no means a silver bullet, but it is often a useful part of the diagnostic process.
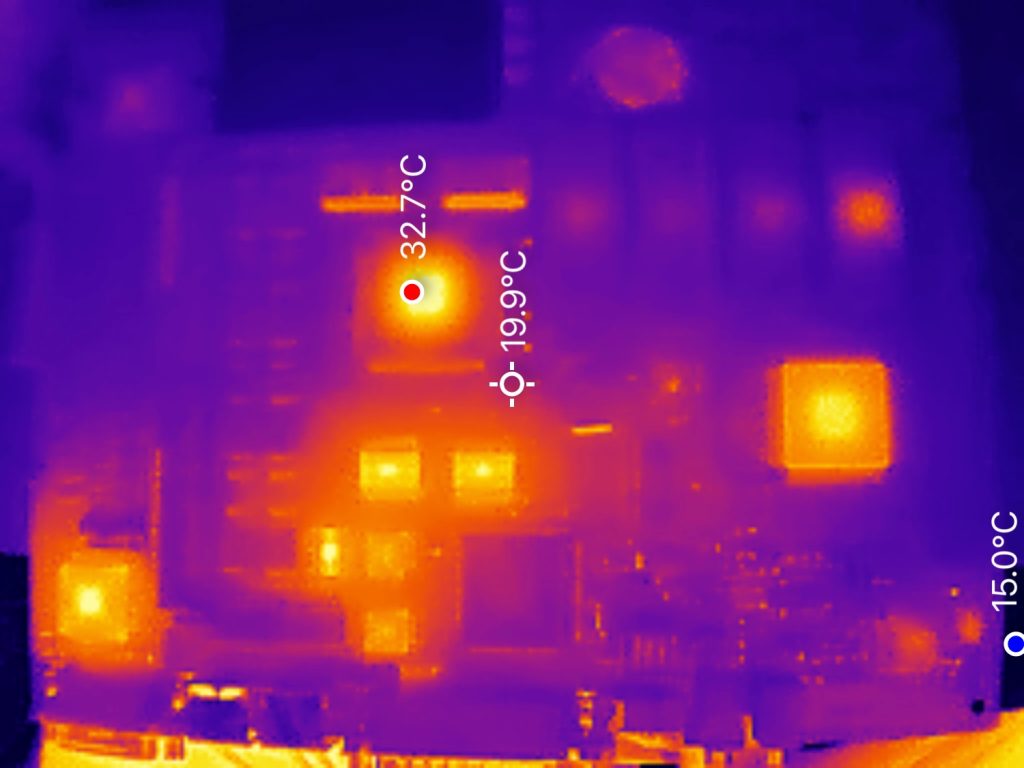
The thermal image showed me a few things. Most of the ICs were generating heat. This means they are getting power, so that’s a problem we can rule out. But then I saw something… unusual. The Mac LC has four ROM chips. Each holds 128KB of data, giving a total of 512KB.
Imagine a book where every page has been cut vertically into four strips, and each of the four ROM chips stores one of those strips. To read a page, the computer takes the corresponding strip from each ROM then puts the four pieces together.
So the contents of the Macintosh LC’s ROM are spread (or interleaved) across all four chips, so each chip shares the load equally. So when I saw one of the ROM chips getting visibly warmer than the other three in the thermal image, alarm bells started ringing.
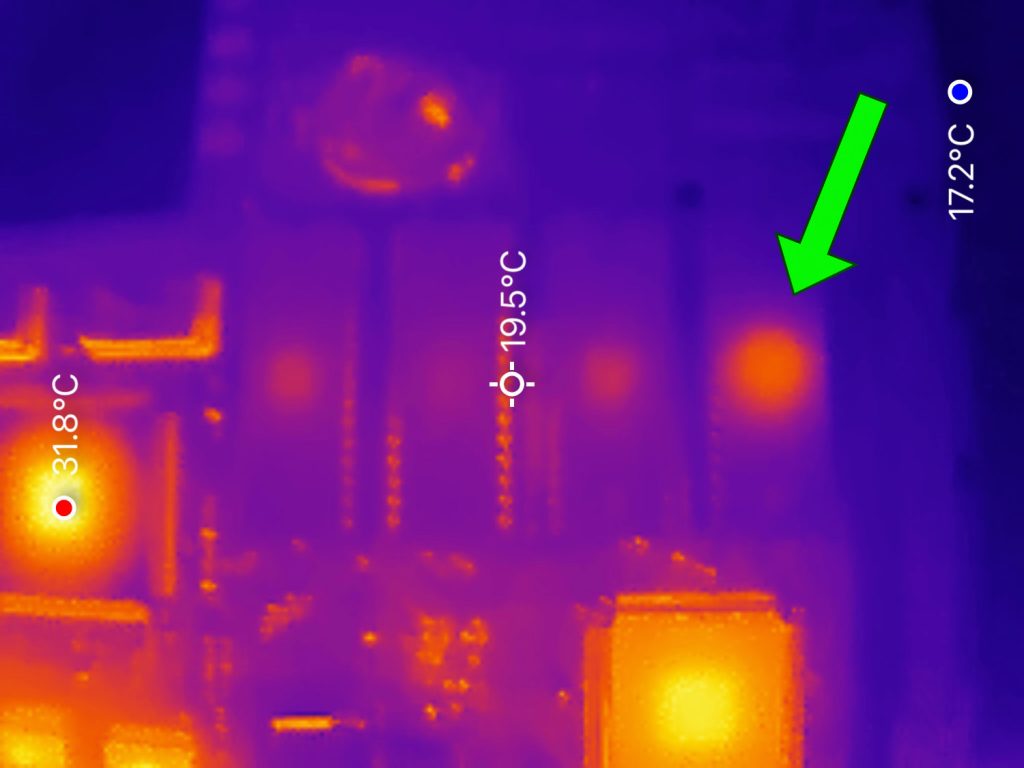
The moment I began to suspect the ROMs, I grabbed my own Mac LC and swapped over the four socketed chips, and to my delight, the Mac LC immediately chimed when I powered it on.
So what now? I know it’s a faulty ROM chip, but it’s not like I can just walk up to my local Apple Store and ask for a set of Macintosh LC ROMs. Not even if you have AppleCare.
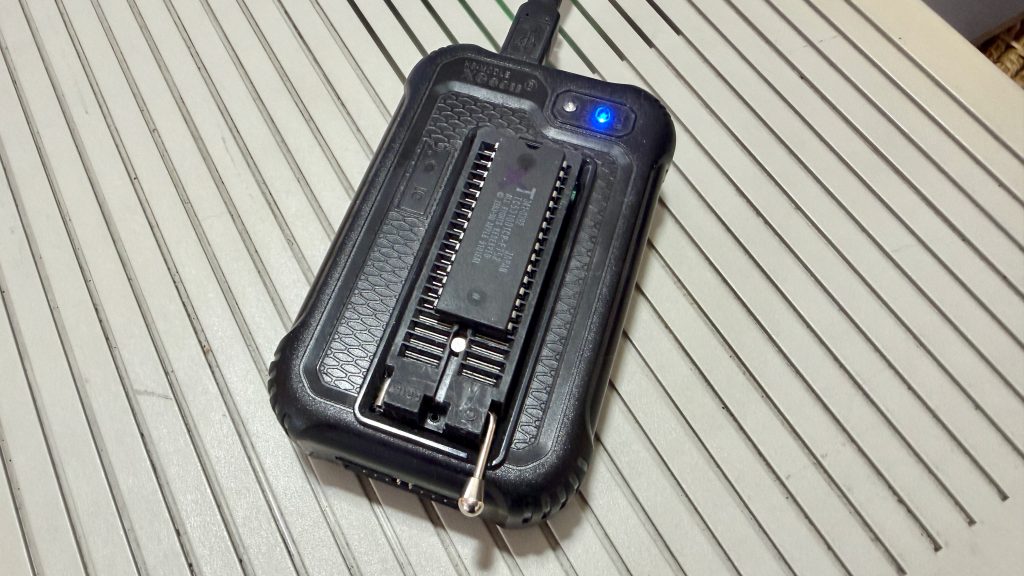
Thankfully, with the right hardware, these ROMs can be duplicated. I have a T48 ROM programmer which can be connected to my Mac via USB and with accompanying software will allow you to extract the contents of the ROM and then write them to a suitable EPROM (Erasable Programmable Read-Only Memory). The EPROM I used was a 128K 27C010. They have the same capacity and pinout as the original ROMs and are perfect replacements.
My first step was to extract the data from the original ROMs. I use Mac software called Visual Minipro which talks directly to the T48 and is super easy to use. But before I copy the good ROM, let’s take a look at the bad one first. I placed the ROM into the programmer, selected 27C010 and read the contents.
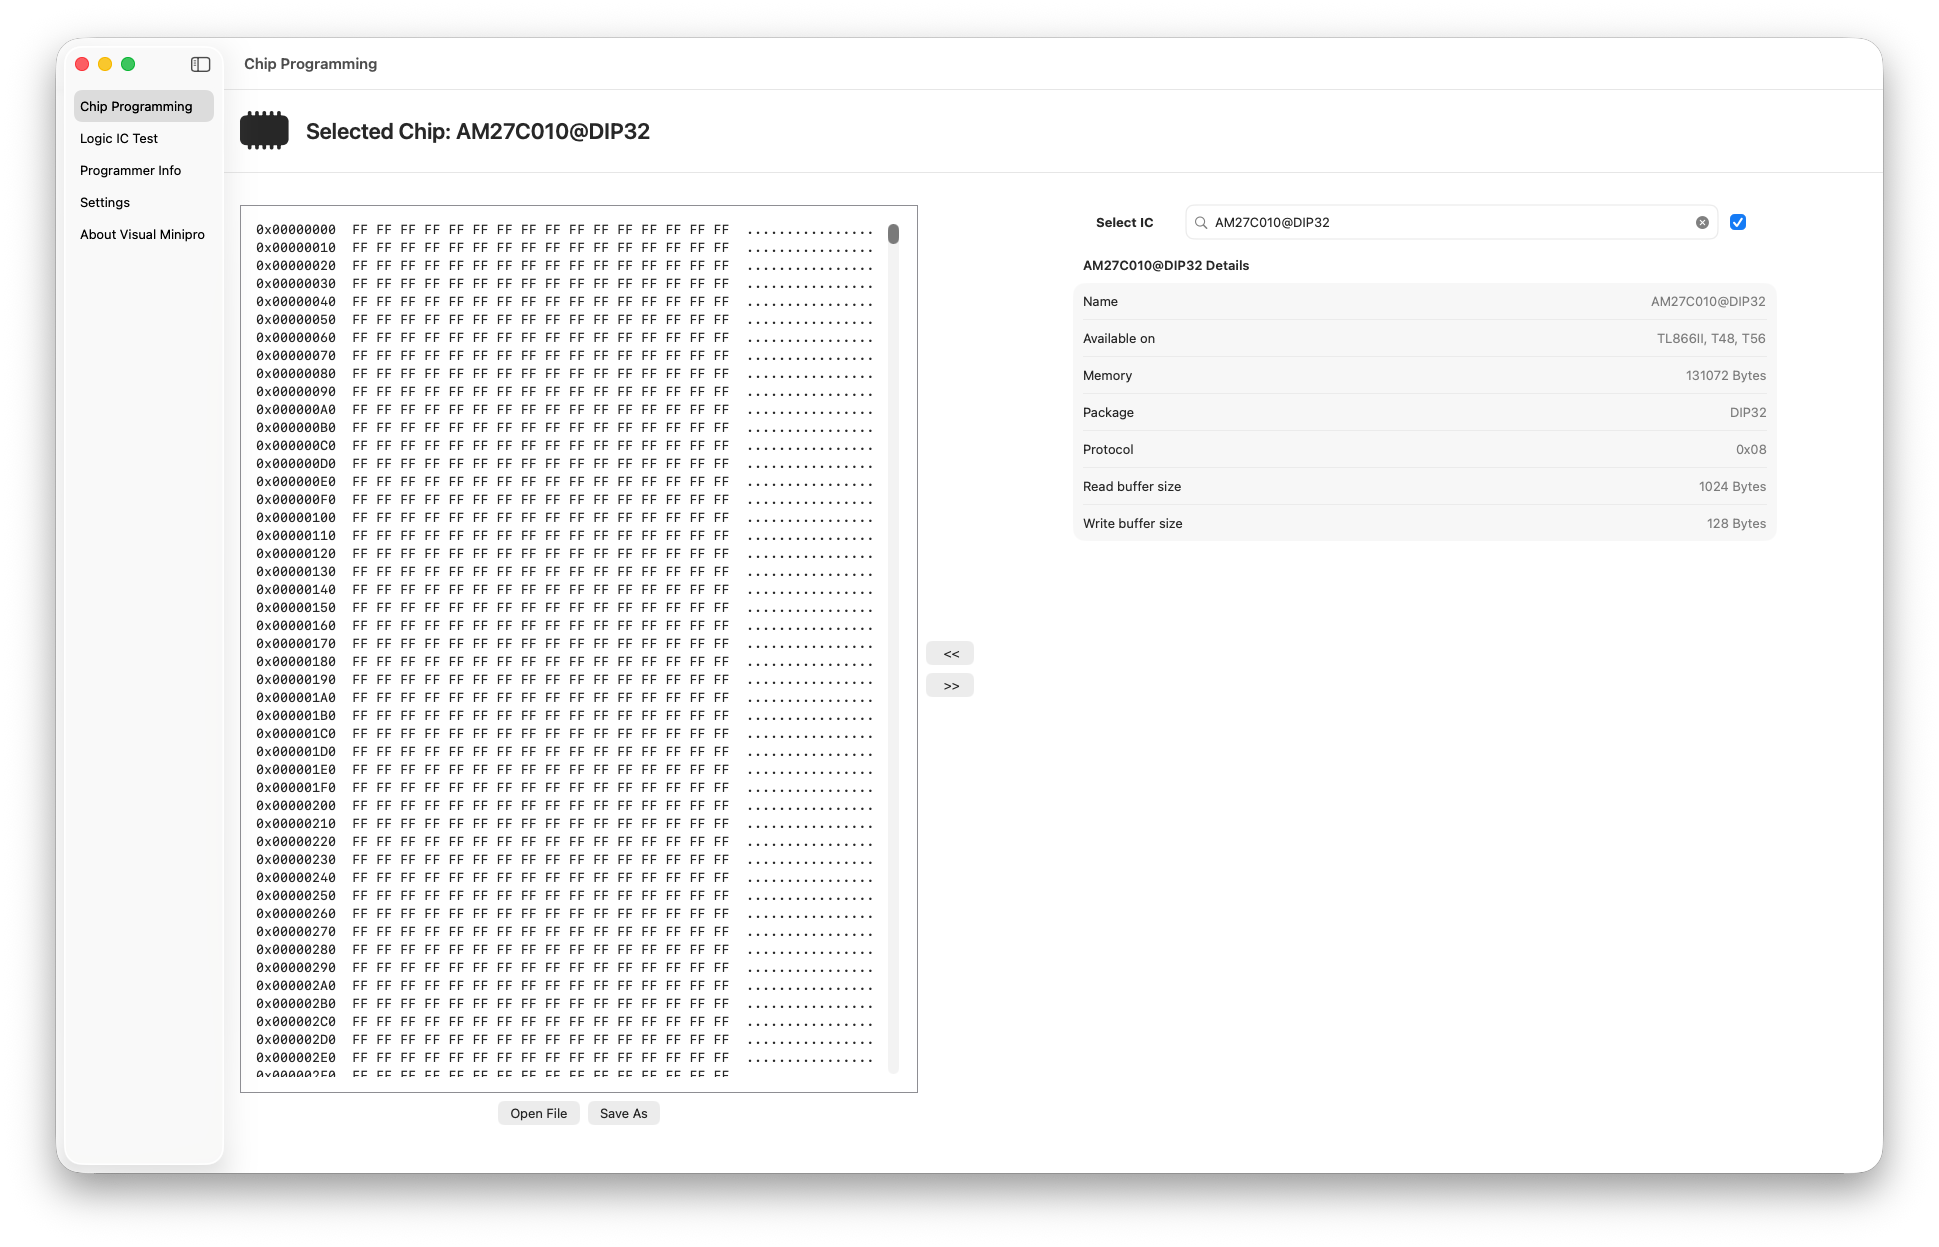
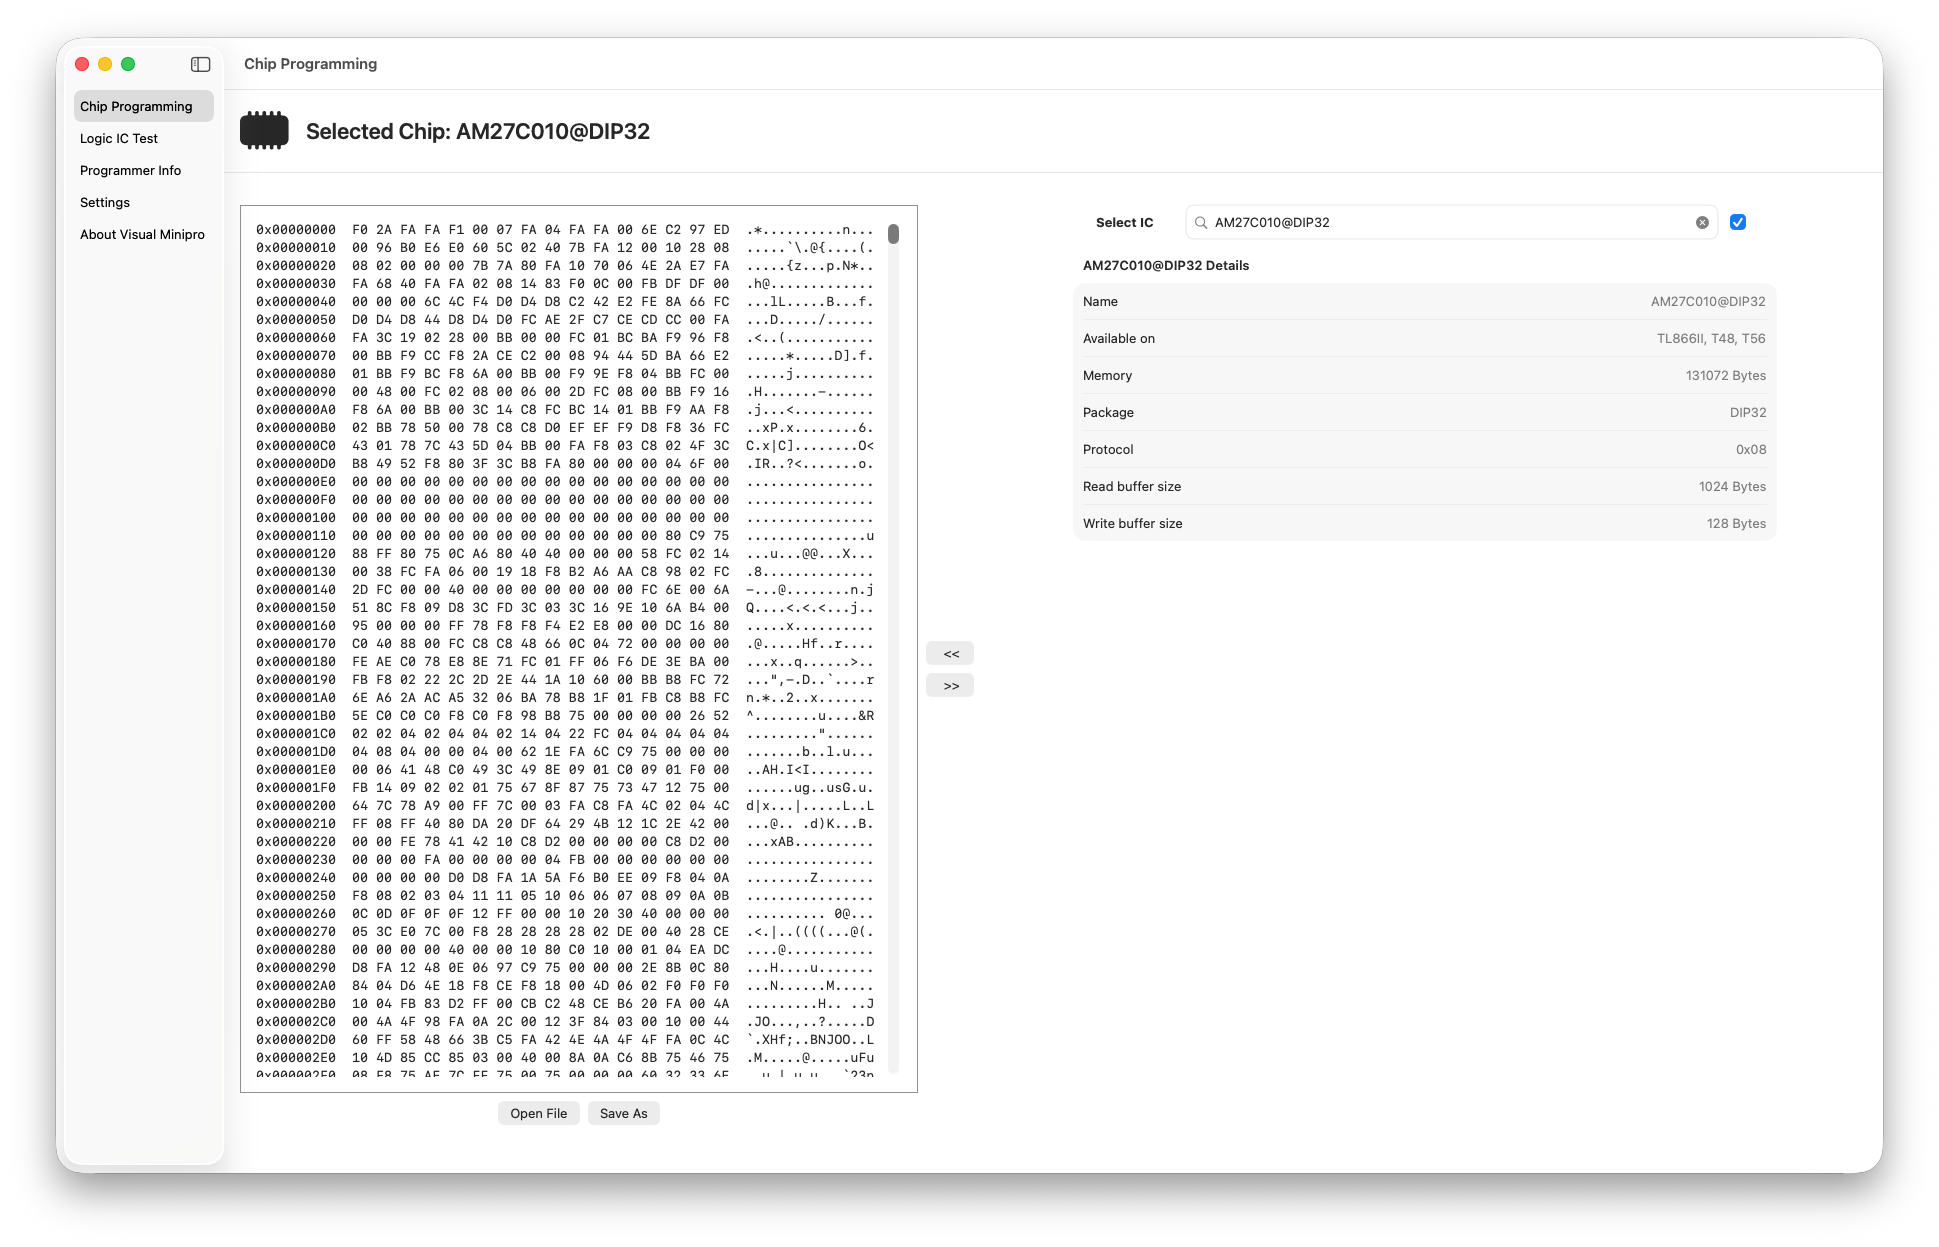
Nothing but a long string of “FF”, which in hexadecimal notation is 255. In other words, the programmer wasn’t able to retrieve any meaningful data from it. Next I put in the good ROM chip which extracted 128KB of stuff. It’s all gibberish to me, but at least it looked like meaningful gibberish.
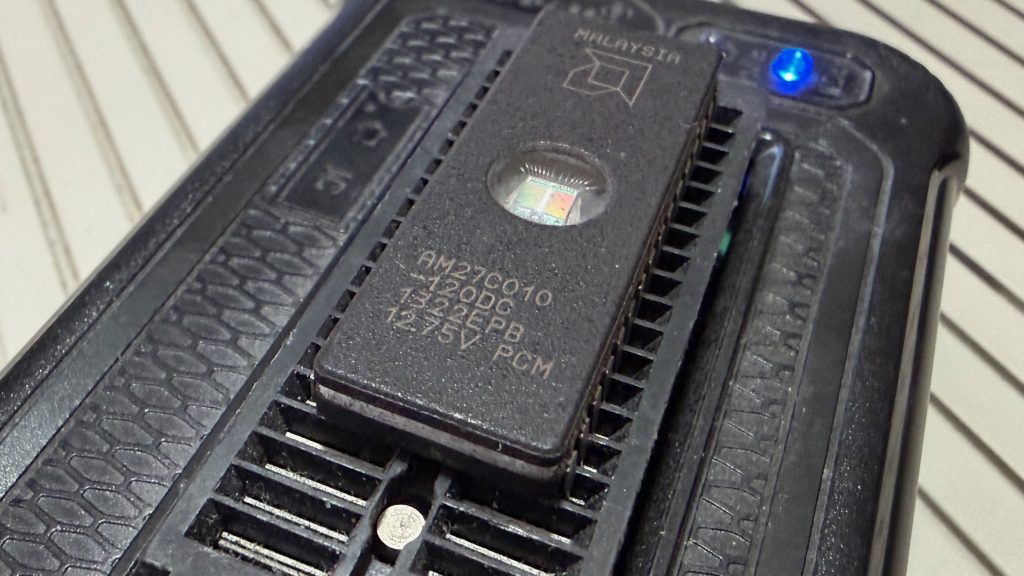
Now to write that gibberish to the blank 27C010. I swapped out the original ROM for the EPROM in the T48 and selected “write”. After a few seconds it finished, and when compared to the original data, everything seemed to match. However, there was only one way to be really sure. I rushed to the workshop, holding the new ROM aloft like a newborn child and plugged it into the socket of the LC.
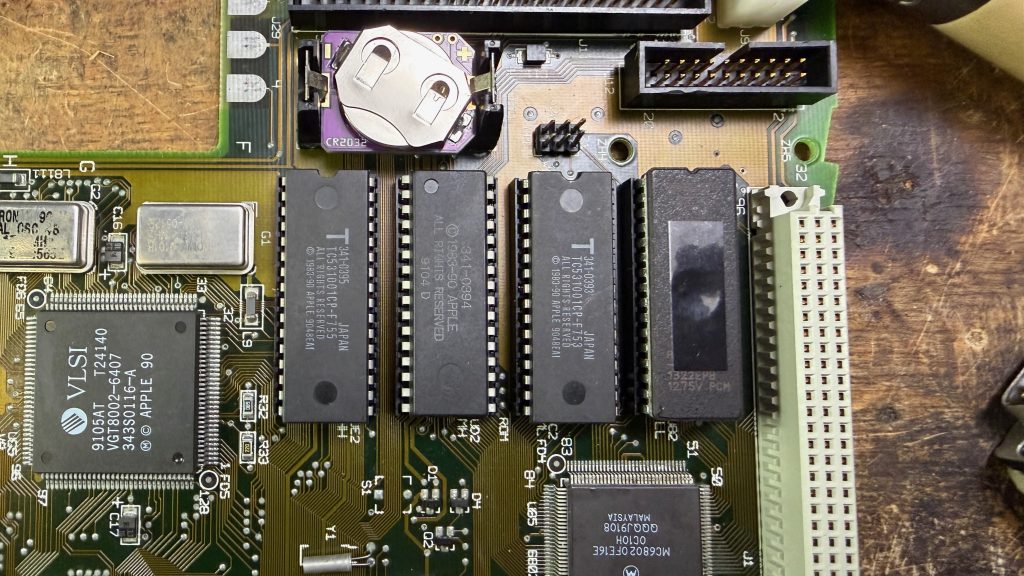
Plug in the power… flick the switch… wait… and…”Ding!”
The rewarding sound of a Mac successfully accessing its ROM. I feel like Dr Frankenstein watching his monster come to life.
And as I suspected, it was only one faulty ROM chip. The other three were perfectly fine.
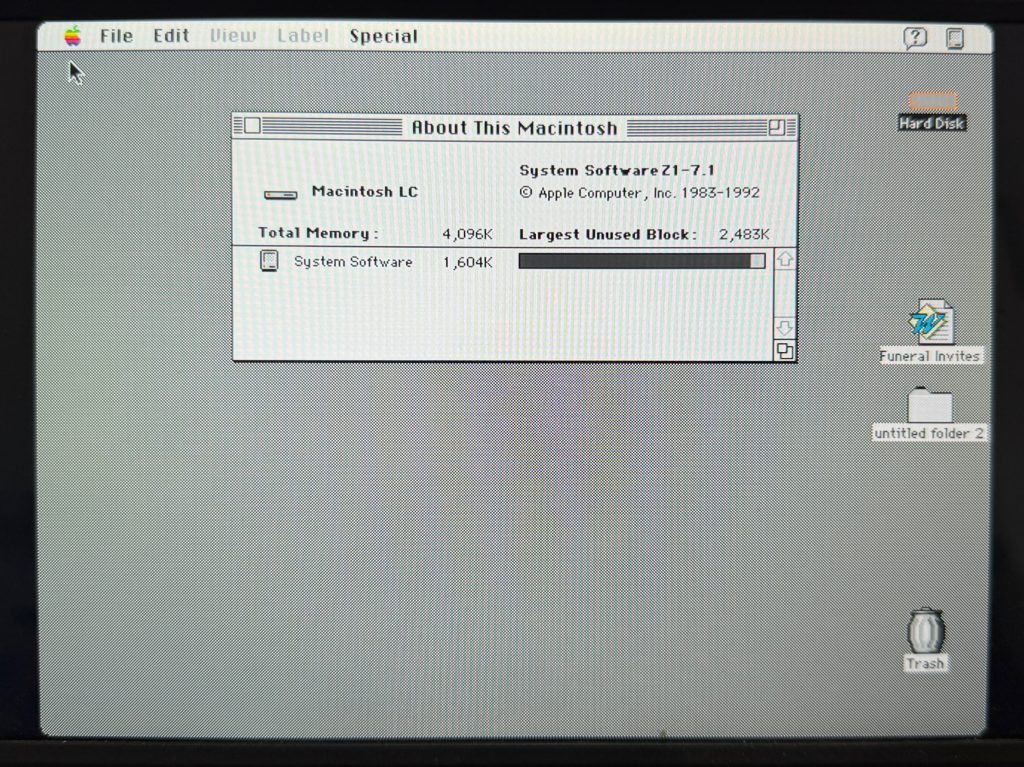
But this wasn’t the only thing to celebrate. After a successful chime, the LC booted straight into System 7.1 from the original hard drive. The most recent files on the drive are from the year 2000, so it’s quite the time capsule.
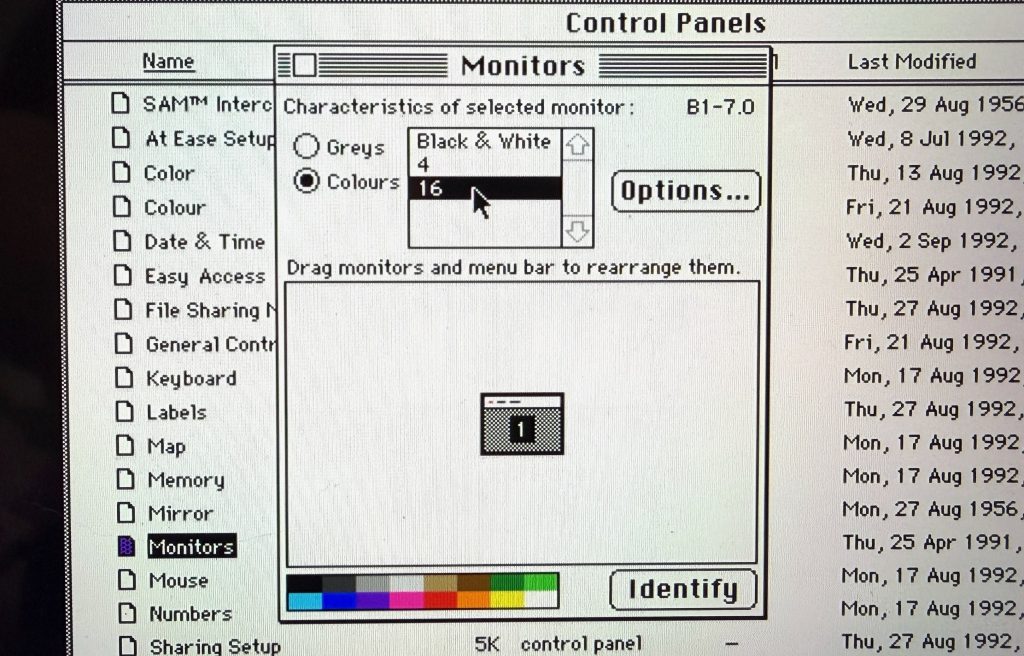
I mentioned before that the LC has no onboard VRAM. If you want any video output you need a VRAM SIMM installed. This particular LC had a 256KB VRAM SIMM (very common for the base model LC) which will give you a whopping 16 colours at 640 x 480 pixel resolution. I just couldn’t in good conscience hand this LC back to its owner with only 16 colours. There are too many period-specific games that run so much better with 256 colours, so I replaced the 256KB VRAM with one of my spare 512KB SIMMs to allow this LC to be the best version of itself.
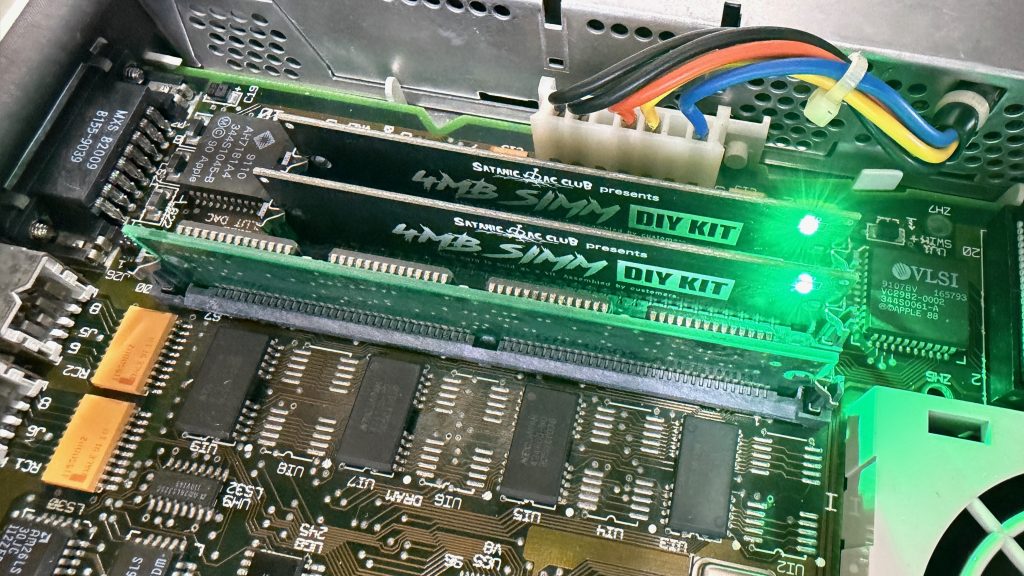
Same with the RAM. This LC had 2 x 1MB SIMMs, so when paired with the 2MB of onboard RAM took it up to an eye-watering 4MB. The LC has a 10MB RAM ceiling. Even if you install two 16 MB SIMMs (which should give you a total of 34MB) it will still only see a total of 10MB. So I installed a couple of 4MB SIMMs, courtesy of Kay Koba’s 4MB SIMM kit. It won’t make that 16MHz 68020 CPU any quicker, but it should allow for a greater range of software to be used with it.
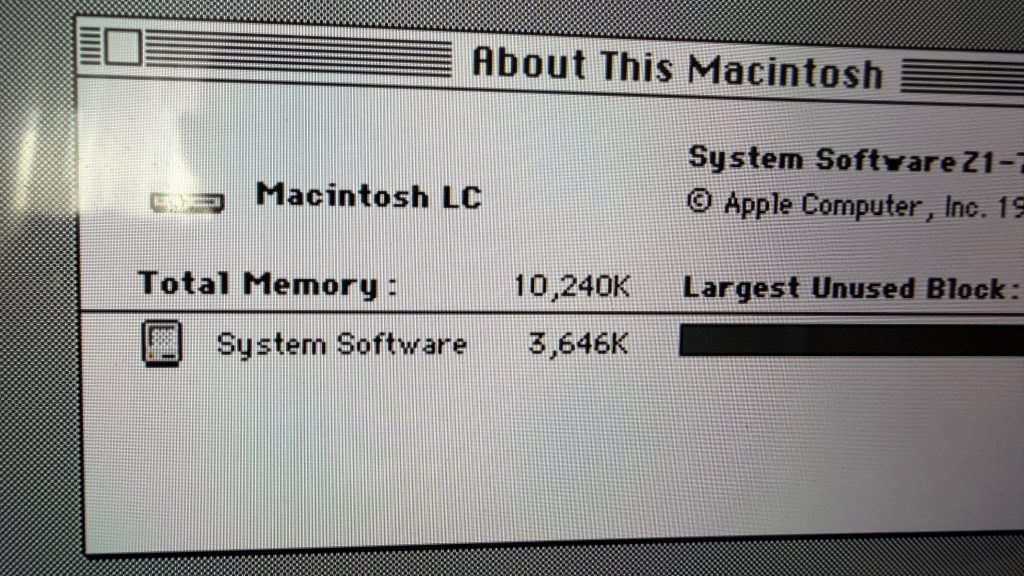
All in all this was a very satisfying repair. In a perfect world the Macintosh LC would have just started working after a recap, but as far as fault diagnostics go, this one was about as simple as it gets. And having the tools at my disposal to quickly repair it were a huge bonus. I think this little LC wanted to be repaired.