There is quit a bit of equipment required in order to provide clean and neat recapping, some of it quite expensive. I’m located in Australia, which can make those items even more expensive. For example in the US you can buy a Hakko FX-951 soldering station for under $300, but in Australia, the same product is nearly $500.
Here is a breakdown of all of the important hardware and consumables I use for my Mac recapping, along with approximate costs and I why I use each particular product.
Many of the product links below are paid, but they are all genuine recommendations and what I use myself.
Soldering Iron
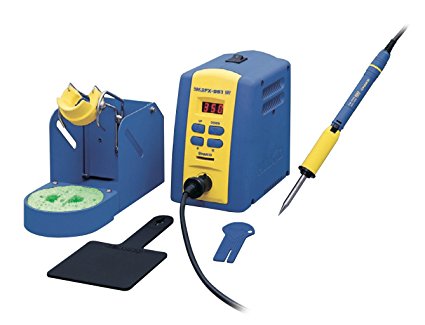
The reason I use this particular model is that it allows easy swapping of tips, even when the iron is hot. It also has the heating element in the tips themselves, rather than having it in the handle. This means very fast heating, and far less heat loss. It also has a very wide range of tips available.
It’s not all good though, this model has one of the most counterintuitive interfaces ever devised. Rather than just simple up/down temperature controls, you have to select the specific digit on the display to change it. It also has a ridiculous “key” (which is basically a slotted piece of plastic) which needs to be inserted to change the temperature. Why? Surely the person using the device knows what temperature they need, so why is a key required? Are people worried that someone’s going to sneak in and change the temperature when they’re not looking?
Whichever soldering iron you use, it should have plenty of heating power and a good range of fine tips available. Temperature readout is also a must.
Soldering Iron Tip
Most soldering irons come with a pointed (conical) tip. I don’t know why, but this seems to be accepted as the most popular soldering iron tip shape.
In my opinion, conical tips aren’t terribly effective, and a bevelled tip is far better for transferring heat to where it’s needed.
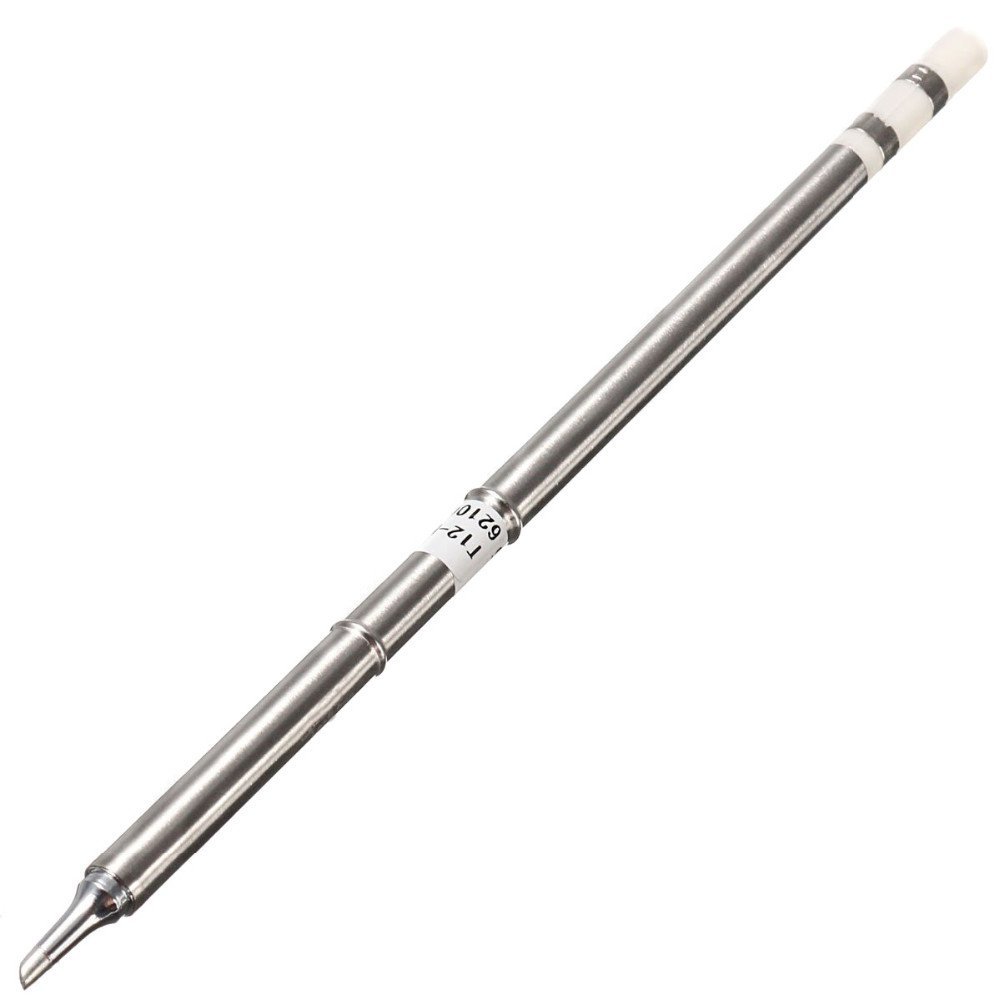
No matter what I’m working on, I only use different sized bevel tips, but the T12-BC2 is the one I use the most.
Hot Air Rework Station
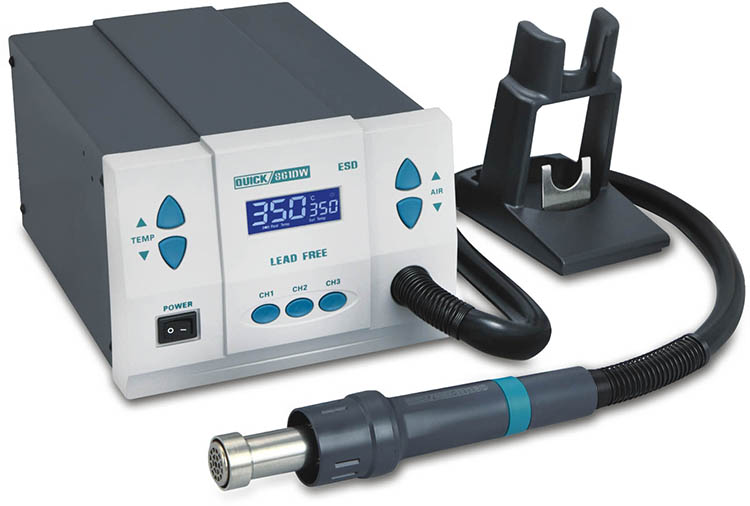
Quick 861DW
The Quick 861DW is considered a “budget” hot air station, but once again, buying one of these in Australia will set you back over $400. But that’s still pretty cheap when compared to some of the premium products, such as Hakko and Weller. A Hakko FR-803B will set you back over $1,200 in Oz.
In the early days, I used to get by with an el-cheapo hot air station. The main difference between the cheap ones is they have both the heating element and the fan in the handle. The expensive ones have the heating element in the handle and the fan in the base station. It allows them to blow a far more powerful jet of air. The better models also have more heating power.
This unit has intuitive controls, very powerful heat and air, a nice solid holder, and it includes a range of tips. I basically can’t find fault with it.
Microscope
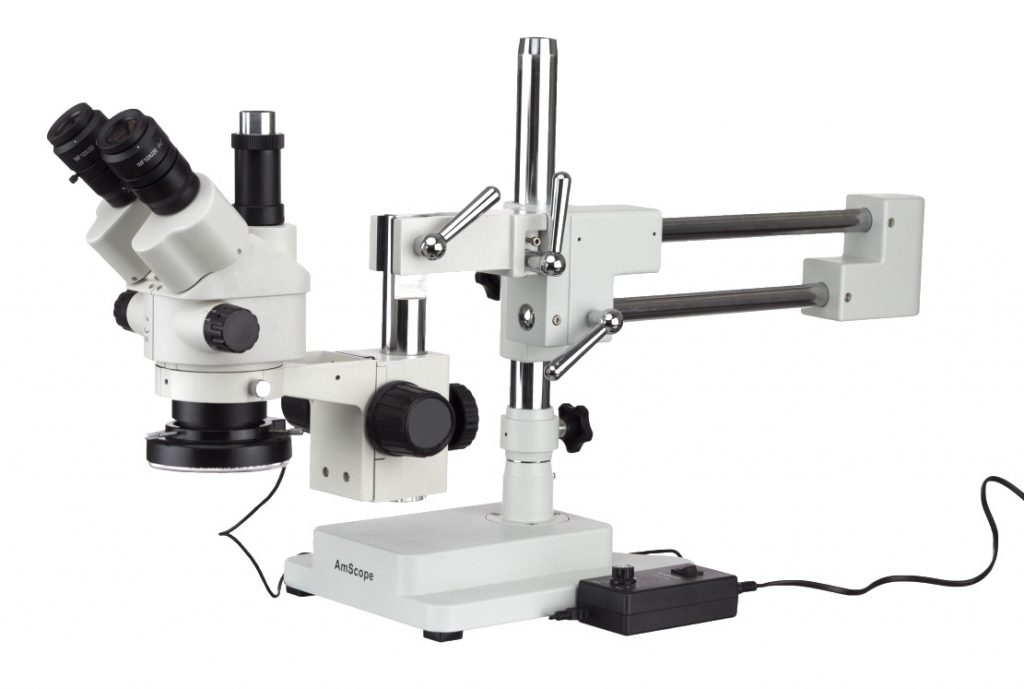
Amscope SM-4NTP-144, 7X – 45X stereo microscope
One of the most expensive items in the workshop, and also one of the most important. I worked for a while without a proper microscope, and it really limits your capabilities. When you’re trying to melt solder on one end of a 1.6mm resistor, without melting the solder on the other end, you’ll make a complete mess of it unless you have a quality microscope.
The microscope should be on a boom so that you have enough room to work under it. It’s also nice to have one with a spot for a camera so that you can record what you’re doing.
Ultrasonic Cleaner
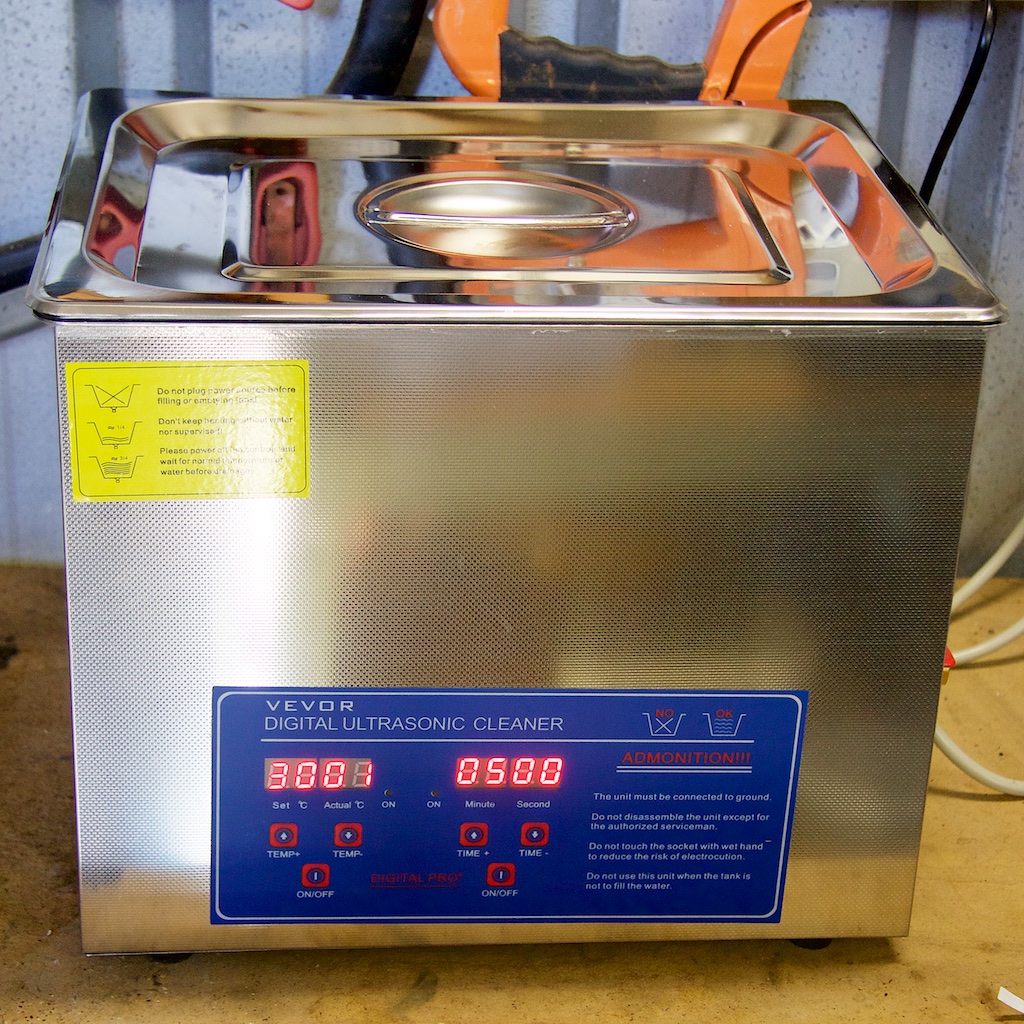
If you don’t know what an ultrasonic cleaner is, I’d highly recommend reading up on what they are and how they work. Put simply, they use a process called “cavitation”, whereby ultrasounds are bounced around in a tub of water, which bombards the surface of anything you put inside with little tiny air bubbles. Combined with a mild detergent, it’s highly effective when cleaning items that have lots of little cavities or inaccessible areas.
Ultrasonic cleaners range in price from under a hundred dollars to many thousands of dollars. My recommendation would be to buy what you can afford. With a cheaper cleaner, items will probably take longer to clean, which has the potential to do damage over time.
Make sure the ultrasonic cleaner:
- has a built-in heater
- has a built-in timer
- is big enough to hold your largest repair board
And don’t buy a little cheap one that’s designed for jewellery cleaning.
Ultrasonic Cleaning Fluid
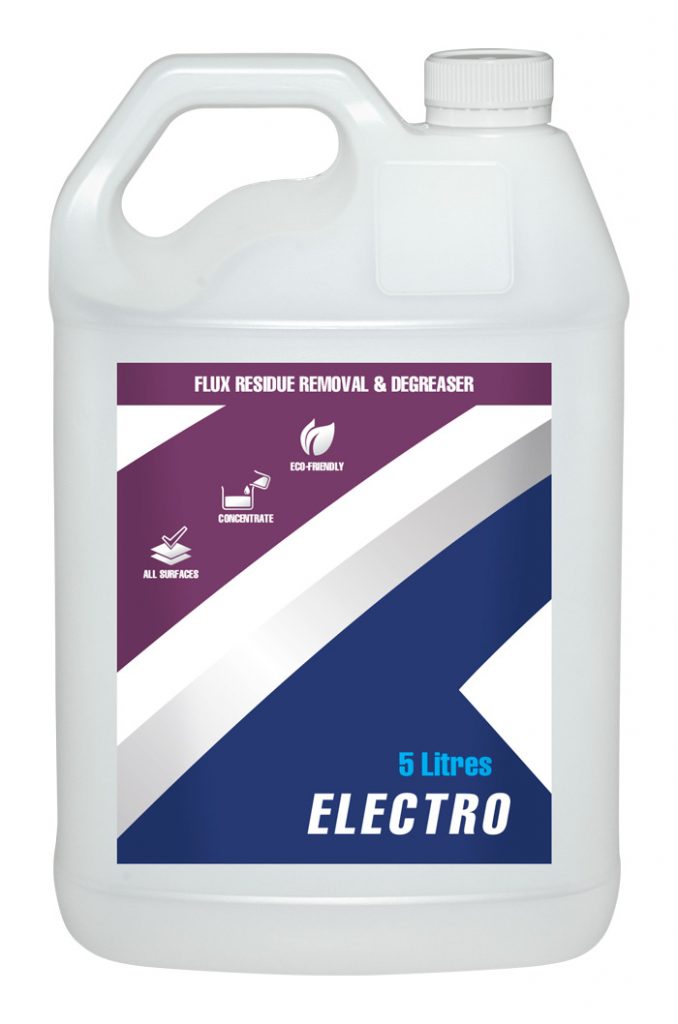
Ultrasonic cleaners need detergent, especially when trying to break down things like residual flux or spilled coffee. There are plenty of PCB-specific detergents out there, that are designed not to damage the boards or the solder, but they’ll help clean away all of the other gunk. You just dilute the detergent with some distilled water in the cleaner, and you’re ready to clean. Just replenish the liquid once it looks nasty.
I use a product called “Electro” from Kleentek which comes in 5L bottles of concentrate.
For those outside of Australia, there is Branson EC cleaning fluid, which comes highly recommended.
Solder
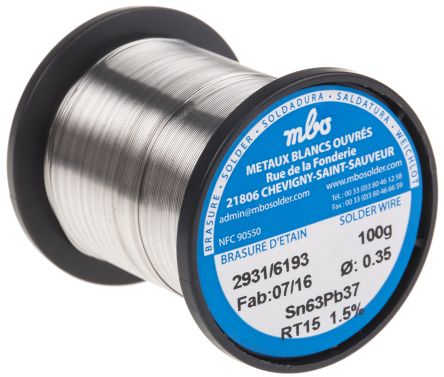 I don’t really recommend a specific brand of solder, but I do recommend buying quality. I like to work with leaded solder because I like working with the low melting point. I use a 37% lead, 63% tin, low residue 0.35mm diameter fluxed solder, which comes on a 100g roll. These can be a bit pricey, but you really do get what you pay for.
Flux
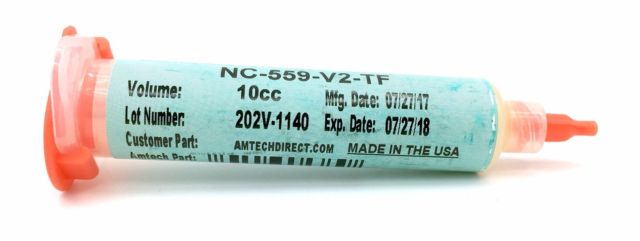 “If in doubt, add more flux.” That’s my mantra. Flux will stop your solder from oxidising, which will help your solder flow nicely. This makes the job easier, and makes the finished product look nicer. I use a couple of different gel fluxes. The first is AmTech NC-559-V2-TF, and the other is Interflux IF 8300. I probably prefer the AmTech, but it’s a little hard to get here in Australia.
Whichever flux you use, you want to make sure it’s a no-clean gel flux that’s specifically designed for PCB work. I also like to use flux that comes in a syringe dispenser.
UV Curable Solder Mask
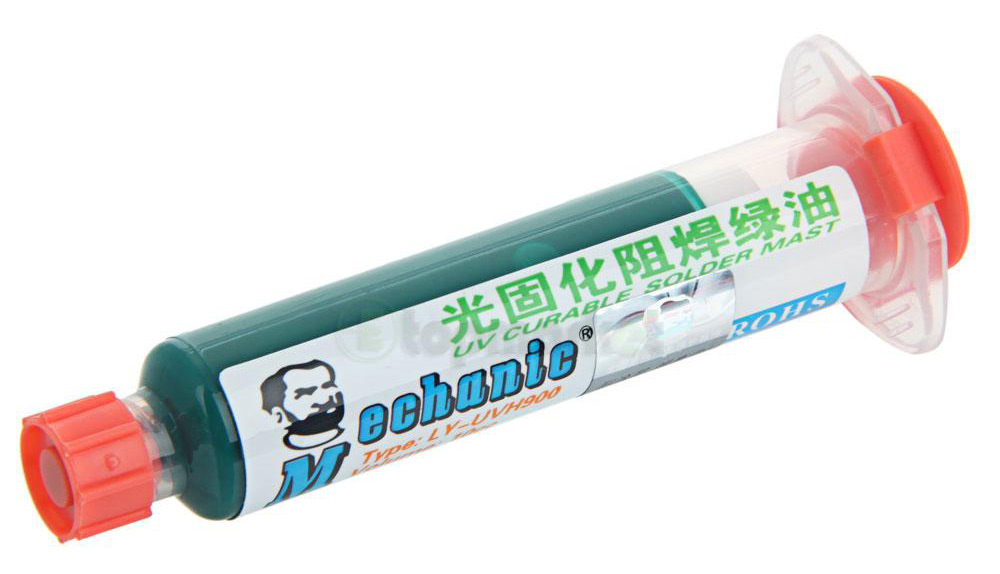 After repairing or cleaning traces, it’s always a good idea to apply a thin layer of UV curable solder mask to protect them from damage and corrosion. It cures solid under UV light (including sunlight) and will ensure that your repairs will go the distance.
Precision tweezers
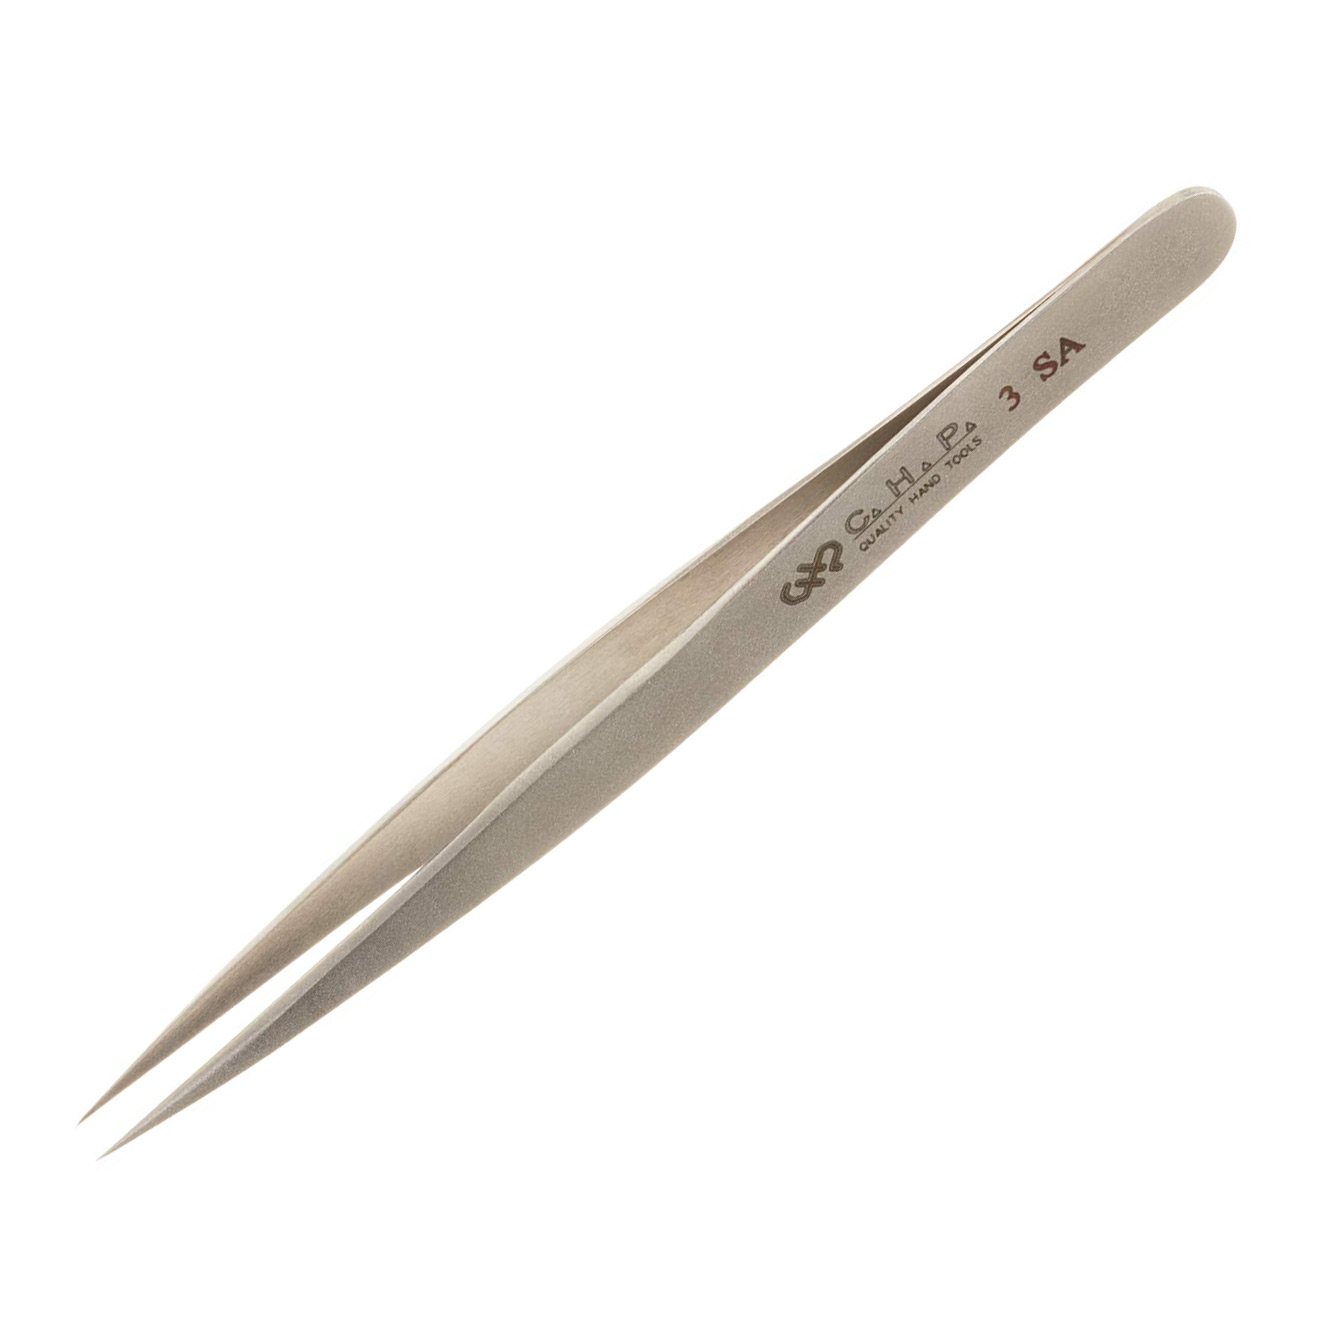 Probably the most important piece of equipment in the list. A good quality set of precision fine point tweezers is absolutely essential.
Scalpels
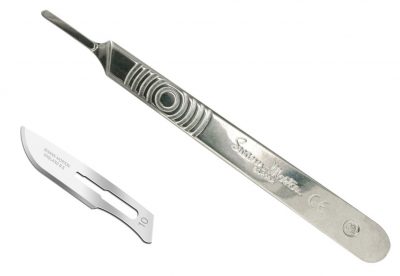
Having a sharp blade is extremely important. Lots of people favour the X-Acto knives, but I have always preferred using surgical scalpels. I use Swann-Morton #10 blades, which fit onto a #3 handle. They have a sharp point, as well as a curved blade. The curve is incredibly useful for scraping. The handles and blades can both be purchased on eBay.
Keep in mind that these blades are designed specifically for cutting skin, so be bloody careful when using them. I managed to embed one in my elbow about 20 years ago, and I suspect I came very close to doing some serious nerve damage.
Solder wick
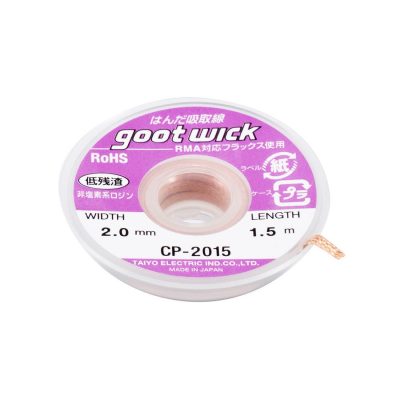
Solder wick (or braid) is woven copper with a coating of flux, and is specifically designed to draw in solder when heat is applied. It’s incredibly useful stuff for cleaning pads or removing stubborn bits of solder. It comes in a variety of widths, but I prefer to use Goot Wick 2.0mm braid.
